 This is the original image before using photo shop to modify the image.
The image below shows how levels are used to brighten the image to give the participants in the image a more healthy glow. Comparing with the original image above you can immediately tell the difference. You can change the colour of the image by moving the level on three different colours, Red, Blue and Green. By evening up these colours you can create a healthy glow to each member within the image.ng with the original image above you can immediately tell the difference. You can change the colour of the image by moving the level on three different colours, Red, Blue and Green. By evening up these colours you can create a healthy glow to each member within the image.

The image below show the use of the Hue/Saturation. This helps increase the colour of the eye when your intensifying the colour.


Highlighted in the tool bar is the eraser tool. By using this you can change the colour of the eye. To do this you change the levels and Hue/Saturation as shown above. Then after moving that layer below the previous layer you use the eraser tool and colour in the eye. To do this effectively you have to change the brush size and the opacity to make sure that the colour comes gradually otherwise it wouldn’t give the effect wanted.

As told about above this tool bar below shows the opacity being changed in order to change the eye colour. This makes the colour come out gradually to make sure sure that when painted on it doesn’t come out uneven.

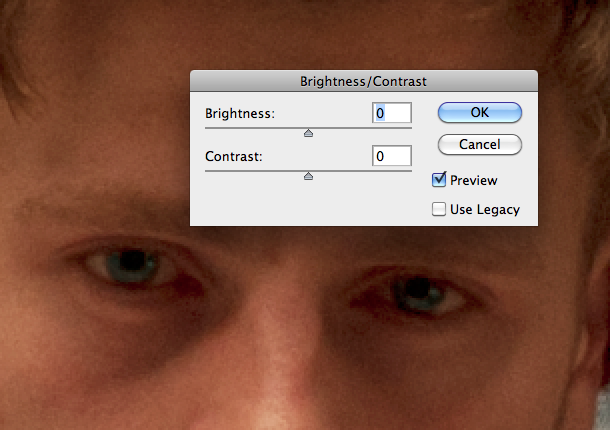
Here below shows the brightness and contrast used in order to increase the brightness of the eyes of the participants within the image. By doing this it helps bring out the eyes to capture the attention of the viewer.


